Description:
XAMPP is a kind of web server in which you can use all kind of server utilities to design websites or to test websites to see how they will run on actual server. There is a utility XAMPP Lite. It is very useful because it can be installable in USB to make your USB a portable web server. You can use it on any PC to test your website or to see any other features of it. In this article I am going to show you how to port XAMPP lite to your USB flash drive.
Requirements:
1. USB Stick – 4 GB( minimum ) ( Need a USB stick? Visit our usb flash drive online store )
2. XAMPP ( See Resources Section #1 )
Instructions:
For installing XAMPP to USB follow the instructions:
Step 1
Download XAMPP Lite from Resources Section #1.
Step 2
Plug your USB into PC your USB drive should have at least 500MB of free space.
Step 3
Run XAMPP Installer
Step 4
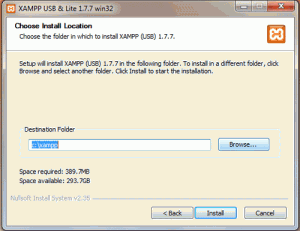
Browse your USB where you want to install the XAMPP Lite.
Step 5
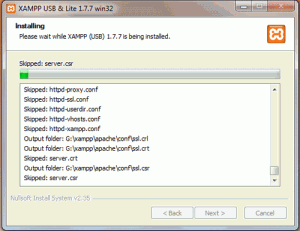
After setting path of your USB drive click Install. The setup will start installing.
Step 6
After successful Installing XAMPP click Finish to complete the setup.
Step 7
Now launch XAMPP Lite from your USB.
Step 8
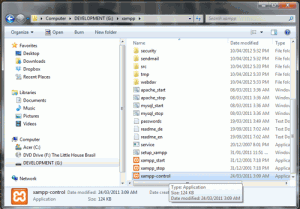
Goto XAMPP directory and click on CONTROL.exe
Step 9
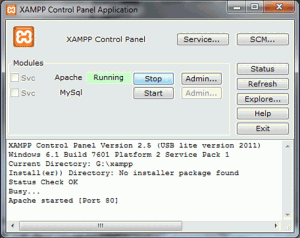
Click Start beside Apache and MySQL to get your web server running.
Please note: Do not check the Svc box, as this will run the server as a Windows service. To keep XAMPP portable, you do not want it running as a service
Step 10
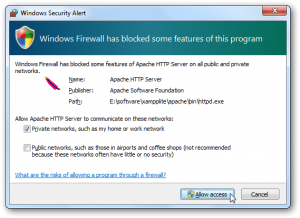
Windows Firewall or your firewall may prompt you that it blocked the server. click Allow access to let your server run.
Step 11
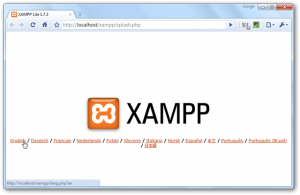
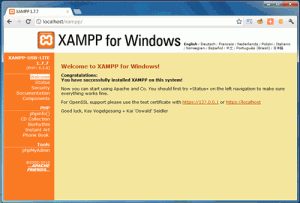
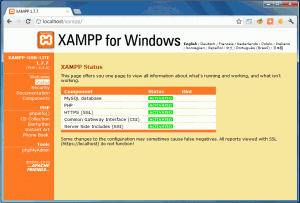
Open your favorite web browser and type http://localhost/ in the address bar. If everything is working correctly you should see the following in your address bar. Choose your default language.
Resources:
1. XAMPP

Recent Comments